Equipment Hire Transactions
Basic Transactions
The required Inventory items, Hire charges and Trade agreements are configured by your Head office. Refer to Configuration for Equipment Hire.
- At the POS, select the customer.
- Scan the barcode of the Hire Item.
-
Navigate to the Hire section to select the applicable Charge Types.
The location will vary according to your POS layout.
If all your Hire items have been grouped into a Retail hierarchy, you can use a single Hire button on your POS layout to display all the Hire Items, ready for selection.
Alternatively, you may want to modify your POS layout and create one button for each Charge Period (weekly, monthly) in order to select Hire Items based on their assigned charge period.
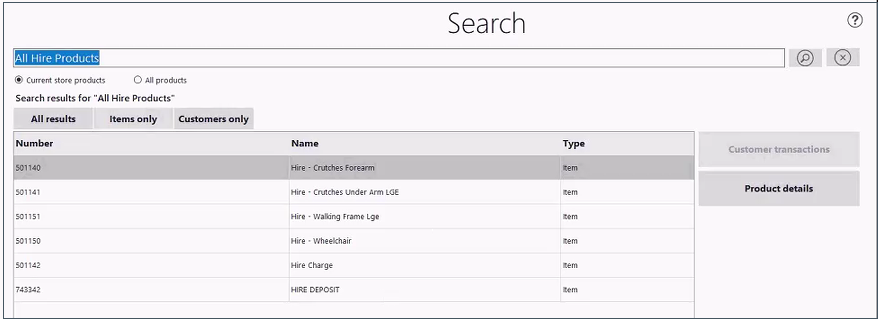
- (If applicable) Select HIRE - Deposit.
-
Select the relevant Charge Item or Charge Period.
Depending on your POS layout, Charge Item or Charge Period may be configured as Hot Keys.
Alternatively, select the Charge Item, then set the applicable Unit of Measure (Period).
-
At the prompt, re-enter the barcode of the Hire Item.
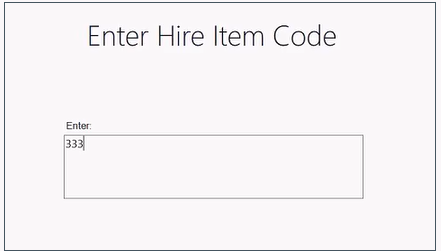
-
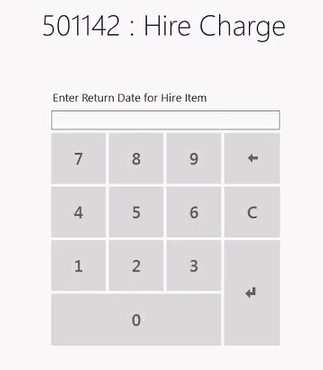
At the next prompt, enter the Return Date for the Hire Item.
To enter 28 October, tap 28 10 on the keypad, then [Enter].
The details of the transaction display in the main section of the POS.
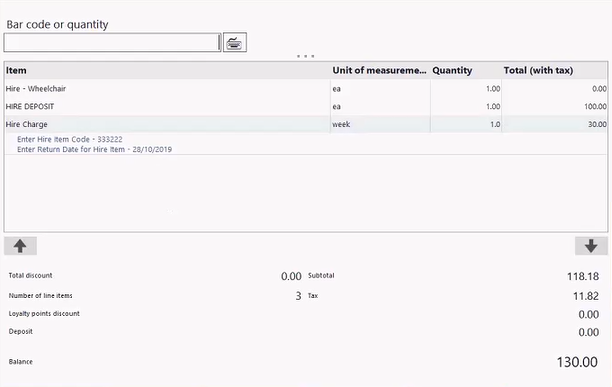
- Finalise the transaction, as per normal. Hire transactions can be paid immediately or charge to a customer account.
-
At the POS, select the Return Transaction button.
-
Scan the Receipt.
The Returnable Items screen displays.

-
Select the line items for the Hire Item and the Deposit, and then click the Return Items button.
If your pharmacy is using Return Reason codes, you may be prompted to enter a Return Reason.
- The items will be added to the cart to be returned. You can then give the customer a refund using applicable tender payment options as per standard return policy.
To extend a hire item, you need to know the customer that the item was hired for and the code of the hire item.
The first step is to add the customer to the sale. This step is critical to enable the reporting to work.
-
Select Search customers.
You can search by name, phone number or address.

- Select the customer to add to the transaction.
-
Add Hire Charge Item for applicable period to the sale.
Depending on your setup, this can be done by pressing a Hot Key, scanning a barcode or searching for the item.
Example - scan barcode to add item:

-
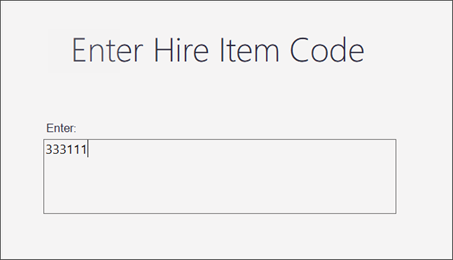
At the prompt, re-enter the Hire Item Code and OK.
-
Enter the new Return Date for Hire Item and OK.
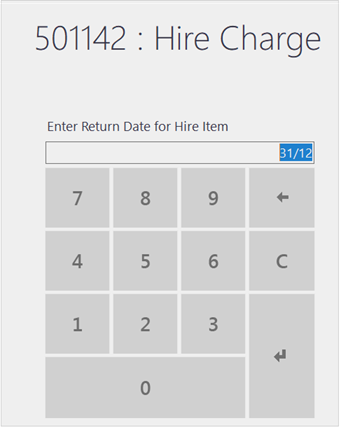
The hire extension will be added to the cart and you can collect payment using standard processes.
-
Tap Manager Ops, then View Reports.
The location of this report may vary according to your Head Office nominated POS Layout.
- From the list of reports, select Hire Item Due Date.
-
In the Parameters, select the appropriate Date Range.

The usual sort and filtering options can be applied to the report.
Reports can also be saved as spreadsheets.
See POS reports

 Fred Learning Pathways