


Patient Maintenance
The FinalCheck mode is used to perform final check on scripts prior to handing out to a patient or facility. The FinalCheck screen displays essential script details and allows you make final corrections, start an intervention or print a CMI. The initials of the pharmacist performing final checks are also recorded.
FinalCheck is also available for question mark dispensed items.
Switch to FinalCheck mode
- Press F10 to activate FinalCheck mode or tap
 in the menu bar.
 FinalCheck is originally intended strictly for pharmacists. For the initial release, access permission has been granted to all Dispense users. Permissions settings can adjusted by your Head Office.
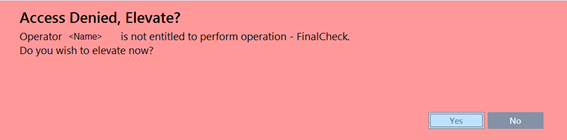
If a user with insufficient permission level attempts to switch to FinalCheck mode, a message is displayed.
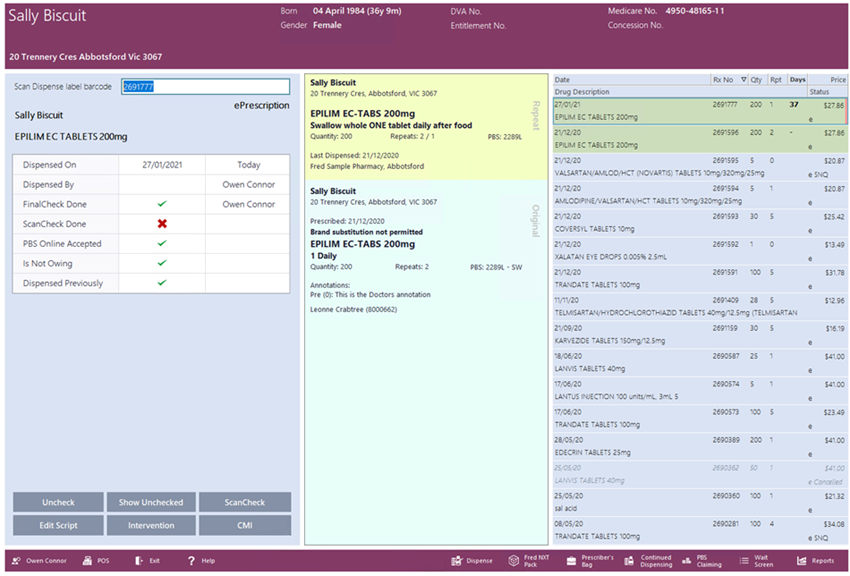
When FinalCheck is enabled, the patient banner changes to a purple background for easy identification.

- Scan the Dispense label barcode or manually enter the script number, if the dispense label barcode is not available.
The patient banner is populated with the patient details.
In FinalCheck the mention ePrescription is displayed upon scanning a label barcode for items prescribed electronically.

The left panel displays the patient name, drug details as well as essential information about the script.
For each line entry
 indicates the check failed and action must be taken. Otherwise,
  is displayed.
 - Dispensed On: Date and time, Number of days ago.
- Dispensed By: Allows multiple checkers. If the script was not dispensed by a pharmacist,is displayed.
- FinalCheck Done: By default, this is set to as you scan.
- Scan Check Done? If set to , press ScanCheck (or CTRL + S) to invoke the ScanCheck form.
- PBS Online Accepted? in the first column and blank in the second column.
- Is Not Owing
- Dispensed Previously: Displays if the drug being checked is a new drug for this patient. The flag indicates the drug has been dispensed to the patient.
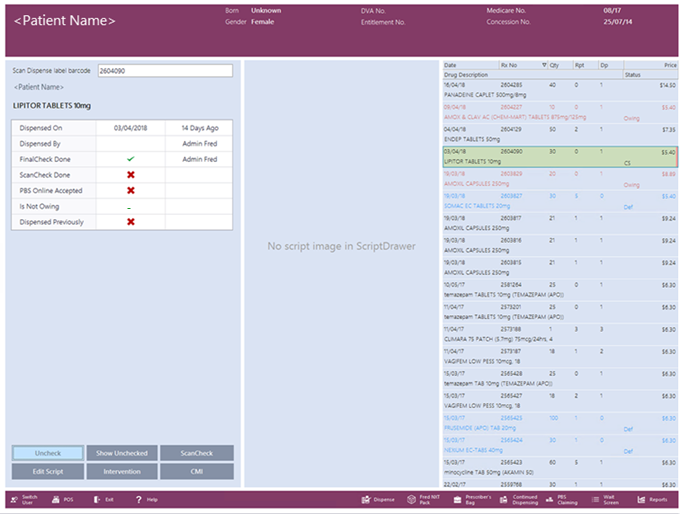
For ePrescriptions, the script image (Original or Original/Repeat) displays in the middle column.
If the script is a paper script, the message No script image displays instead.
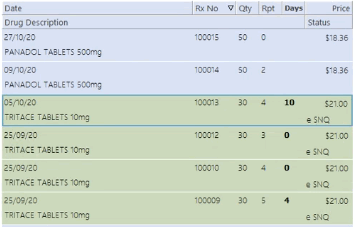
As you scan, the dispensing of this drug is highlighted in the History panel (on the right).

The prefix e is displayed in the Status column (on the right).
- Tap Uncheck to change the FinalCheck Done status to and make any other changes required.
- Select from the other available options:
Action Description Show Unchecked (coming soon) Edit Script The FinalCheck screen closes and the script is open in Edit mode.
After editing a script that was previously marked as Checked, the edited and dispensed script is displayed in the Final Check script with Status Unchecked.
The Edit Script functionality is disabled in FinalCheck mode until a barcode is scanned.
See Edit scripts
Intervention If you start an Intervention from the FinalCheck screen, you are returned to the FinalCheck screen upon closing the Intervention screen.
CMI See CMI - Drug Information ScanCheck Initiate ScanCheck from the FinalCheck screen in order to ScanCheck drugs that have been missed while dispensing.
The ScanCheck button is displayed if Fred Dispense Plus detects this item has not been ScanChecked. Alternatively, press CTRL + S to display it.
F12 Clear the FinalCheck screen. - Scan the next barcode to continue checking.
After each scan, the focus remains on the Barcode field.
- When complete, press F10 again or tap
 in the menu bar to return to the Main screen, or CTRL + Q to switch to the Wait screen.
 Fred Learning Pathways