Create new non-dispense items (Front of Shop)
This article outlines how to create non-dispense, front of shop, items in Fred Office Plus, using the Create Item Wizard.
Create new non-dispense items
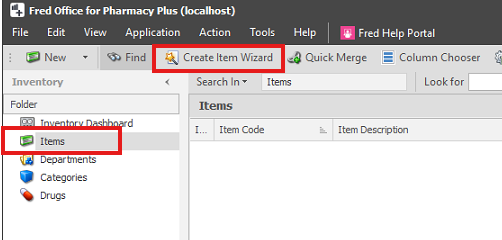
- Go to Inventory, then select Items.
-
Click Create Item Wizard.
- Click Next to move past the welcome screen, if it displays.
-
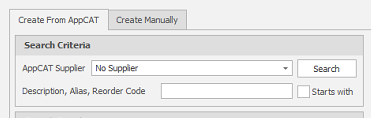
Search for the item you want to add by entering one of the following:
-
Item name
-
Alias (Barcode)
-
Reorder Code
-
-
Click Search.
-
Optional: Use the AppCAT Supplier field to limit results to a specific supplier. This is helpful if your initial search returns a large number of items.
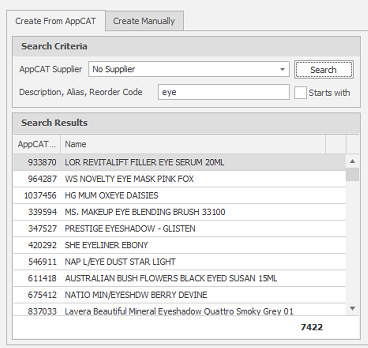
 Example
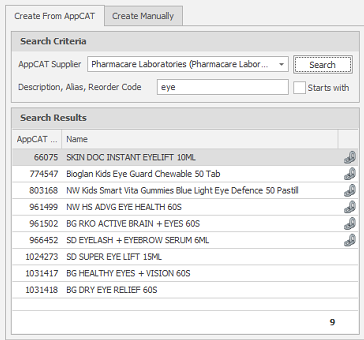
Search for Eye with No Supplier - 7422 results
Search for Eye with Pharmacare Laboratories - 9 results
If you want to perform a 'Starts with' search, select the Starts with checkbox.
- Select the item(s) you want to create from the AppCAT Search Results.
-
Use the Add Arrow(s) buttons to move items into Items to Create list.
Click to add the highlighted items to the Items to Create
Click to add all items from the Search Results to the Items to Create.
You can select multiple items by holding down the CTRL (control) key on the keyboard and clicking on each item. Alternatively you can select a consecutive number of items by holding down the SHIFT key and clicking on the first and last rows of the items to be included.
Items showing a link icon
 are already matched to items in your database and cannot be created again.
 -
If the item(s) you want to create cannot be located within AppCAT, click the Create Manually tab, then click Add. Enter the Item Description and click OK.
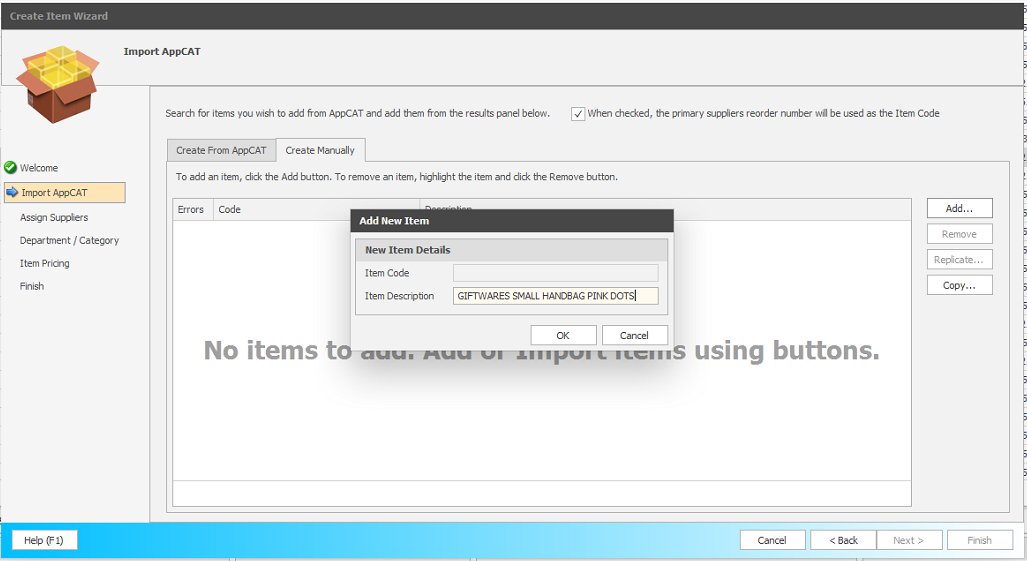
Enter item descriptions in uppercase letters for better readability on shelf labels. Ensure you include the brand, size, and colour/pattern/fragrance in the item description to easily identify the item.
-
Leave the Use supplier code as Item Code checkbox selected (default).

-
Once all Appcat and Manual Items have been added, click Next,
- Ensure a supplier is displayed for all items. If required, select Add, Edit or Remove suppliers using the drop down menu.
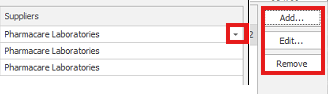
Suppliers can be added in bulk.
Once a supplier exists for one item, use Global Change and select Create Supplier For All Items to quickly add it to all items.
Click Global Change and select Generate Random Missing Codes to generate a random Reorder Number where missing from the supplier. -
Click Next.
-
Ensure a Department, Category, Drug (where appropriate), and Alias (Barcode) is displayed for all items. Select as needed using the drop down arrows.
Department and Categories can be set in bulk.
Once an item has the correct department/category selected, click Global Change and select Set As Global Department or Set As Global Category to set for all items.If an item is in a different department, you need to change the department first before changing the category.
- Click Next.
-
Review and adjust the Cost, Retail and Item Tax as appropriate.
You can set pricing using a Margin or Markup percentage instead of manually adjusting the retail price.
- Click Next.
- If required, select the optional Perform Actions:
Queue Labels
Add to an Item Group
Add to a Draft
Open in Item Manager
- Click Finish to complete item creation.