E-commerce export and ongoing maintenance
eCommerce is an online store, where goods are sold over the internet and the transfer of money and data to execute these transaction.
To create an eCommerce store, the vendor requires a data extraction to assist in the creation of the Online Store.
These extractions generally require, but are not limited to:
-
Product Identifier
-
Barcodes
-
Product Description
-
Retail Price
-
Retail Price (ex GST)
-
Stock on Hand
Each eCommerce vendor may require varied information from the Pharmacy, therefore specific requirements will need to be discussed between the Pharmacy and the vendor.
Below are a few options that can assist a store to extract data for creation of an eCommerce store and the ongoing upkeep of the online store.
Extracting Data
The Stocktake Export will provide a CSV file containing all products in the database.
Each barcode will be listed on a single line along with Item Lookup Codes, Description, Current Stock on Hand, Cost, Retail Price, Abbreviated Department and Abbreviated Primary Supplier.
If the item has THREE barcodes, it will be listed three times on this export.
|
Column |
Description |
Example |
|---|---|---|
|
A |
Item Lookup Code |
017684 |
|
B |
Barcode |
093673013 |
|
C |
Description |
Panadol Tab 24 |
|
D |
Department Abbreviation |
Ana |
|
E |
Pack Size |
1 |
|
F |
Cost |
3.55 |
|
G |
Retail |
9.95 |
|
H |
Stock On Hand |
1 |
|
I |
Location |
Bay2 |
|
J |
Primary Supplier Abbreviation |
SYMBI |
Export from Fred Office Plus
- Click Tools > Item > Stocktake Export.
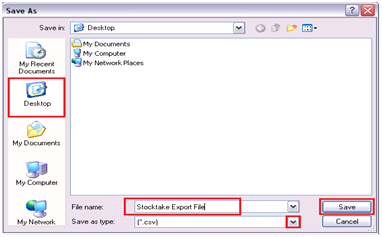
- Click Export and select the location to save the Export File.
- Enter a File Name.
- Use the drop down to adjust the file type (if required).
- Click Save.
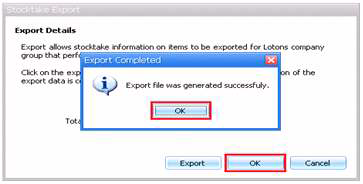
-
Click OK (twice).
This file can then be sent to the eCommerce Vendor.
You may need to wait a couple seconds for the Total Items to be Exported figure to be calculated.
Item manager can be utilised to export selected item attributes, into a single line.
Therefore, if an item has more than one barcode, it will displayed in a . XLSX or .CSV as a single line.
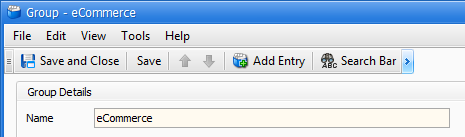
Create an item Group for all Active Items
-
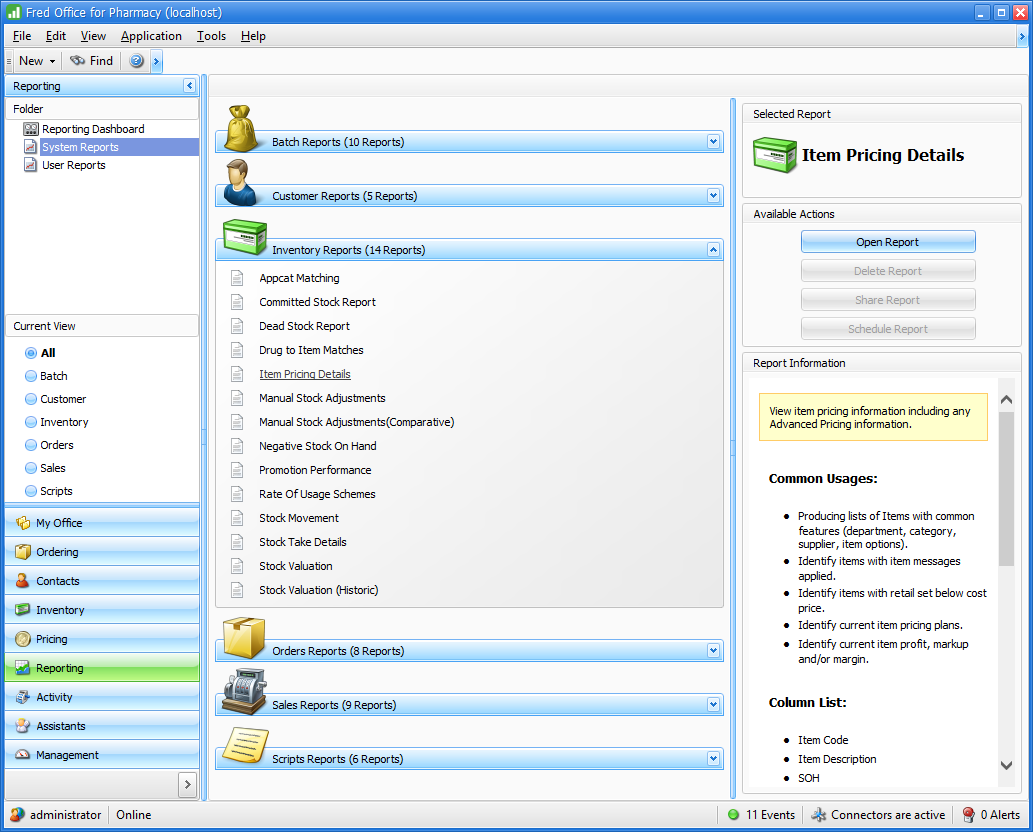
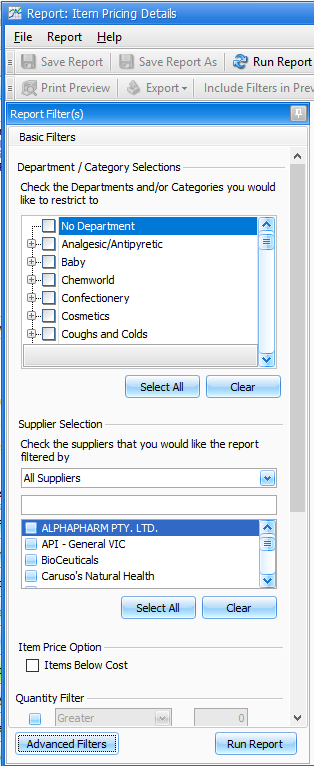
Run the Item Pricing Details report from Reporting – Inventory Report.
-
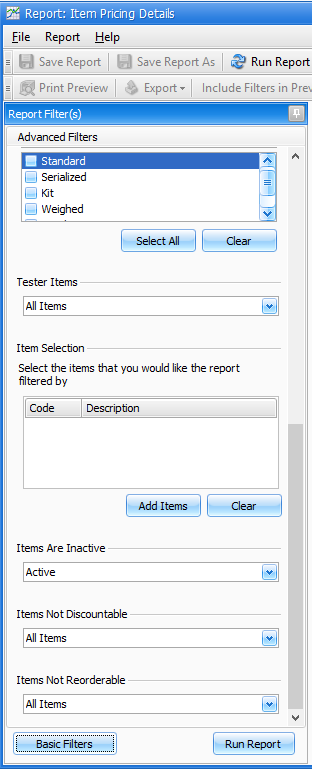
Select Advanced filters and apply the filter for only Active item.
-
Run the report.
-
Select all lines (<CTRL + A>), then right click and select Add to Group> Create a New Group Named eCommerce.
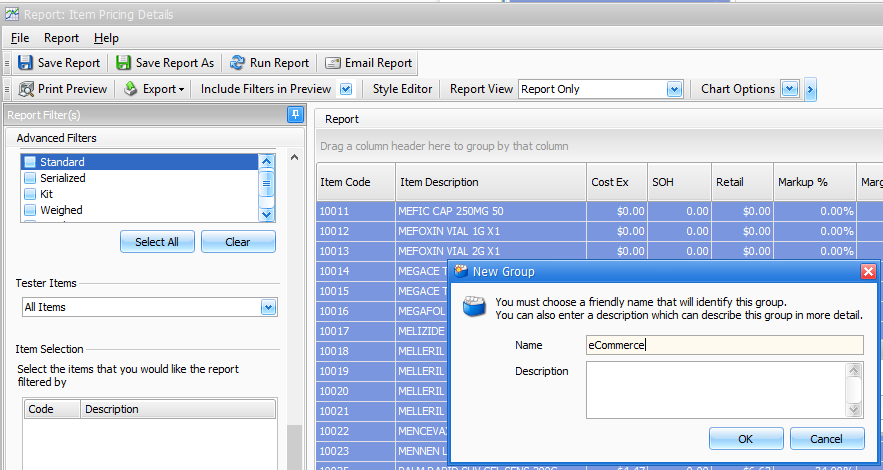
-
Click OK, then Save and Close.
- Close the report, but do not save.
Create a New Item Manager Export
-
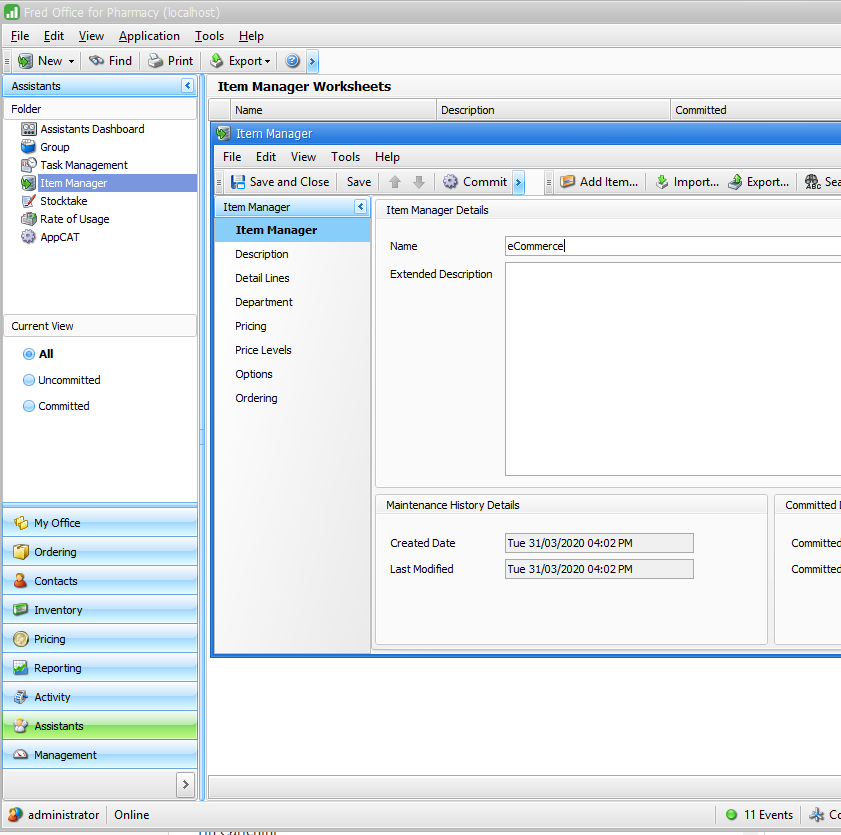
Go to Assistants > Item Manager.
-
Click New and enter a Name as required.
-
Click Add Items.
-
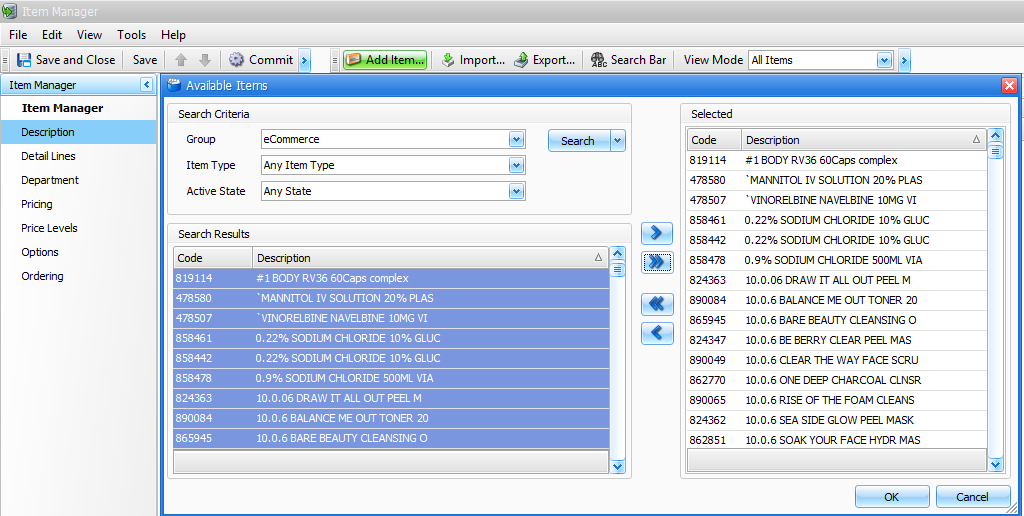
Use the arrow next to Search to select Item Group.
-
Select the eCommerce Group created in the above steps and press Search.
-
Click >> to add all items into the selected window and press OK.
-
Click Save.
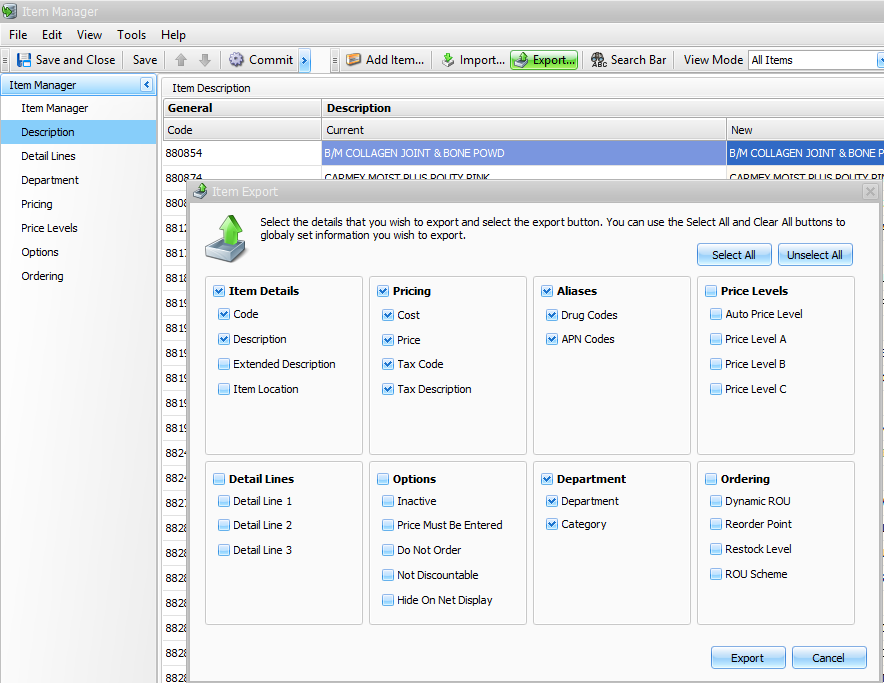
Export Item Manager
-
Click Export and select the required fields:
For Example
-
Code
-
Description
-
APN Codes
-
Cost
-
Price
-
Tax Code
-
Tax Description
-
Department
-
Category
-
-
Click Export.
-
Enter a File Name.
- Use the drop down to adjust the file type (if required).
-
Click Save.

This file can then be sent to the eCommerce Vendor.
The item Pricing Details report can be used to export selected item details for Fred Office Plus.
With Fred Office Version 4.6 and later, you can add the Barcode column into the Item pricing Details report, which can then be used to extract the required.
If you aren't sure which version you are running, see How to check your version.
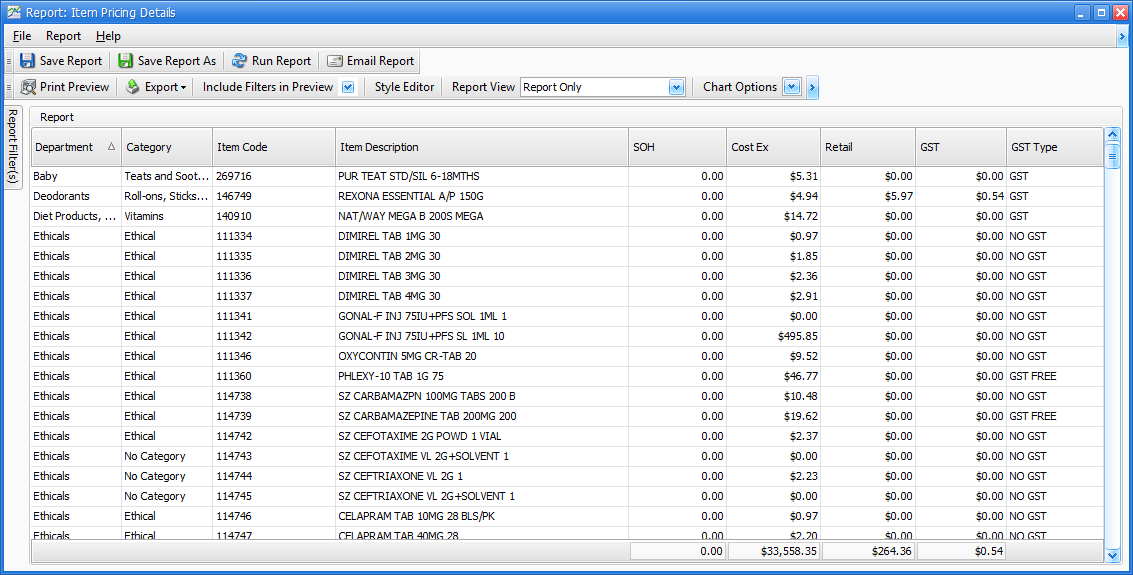
Customise the Item Pricing Details Report with the required Columns by Right clicking on column header, select column chooser. Drag the new column into the report as needed.
Once customised, this report can be saved then scheduled for regular delivery by email. See Scheduled Reports for ongoing update.
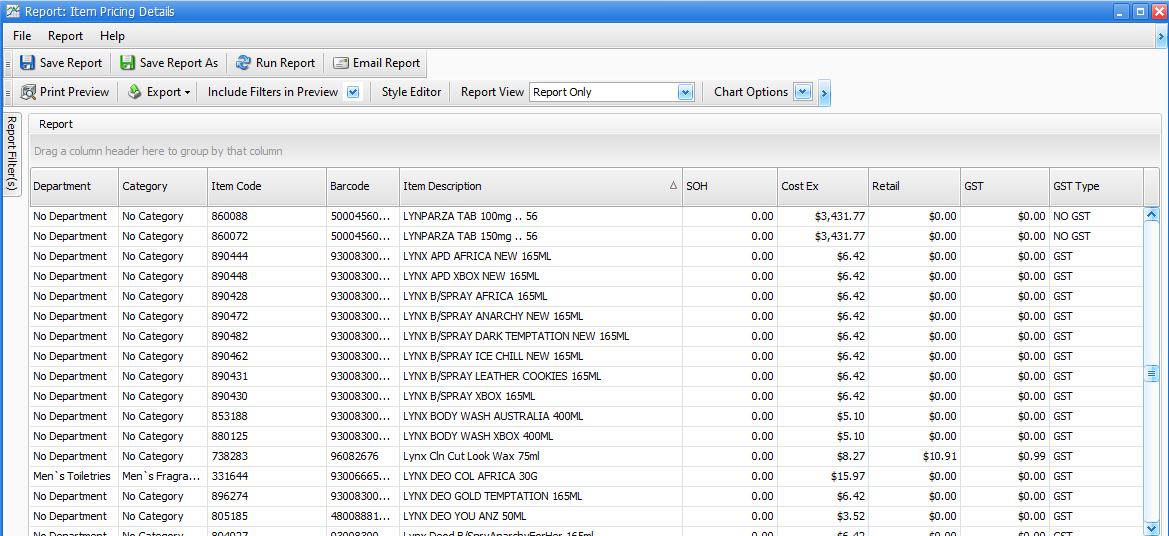
The Barcode displayed is the most recent barcode added to the product.
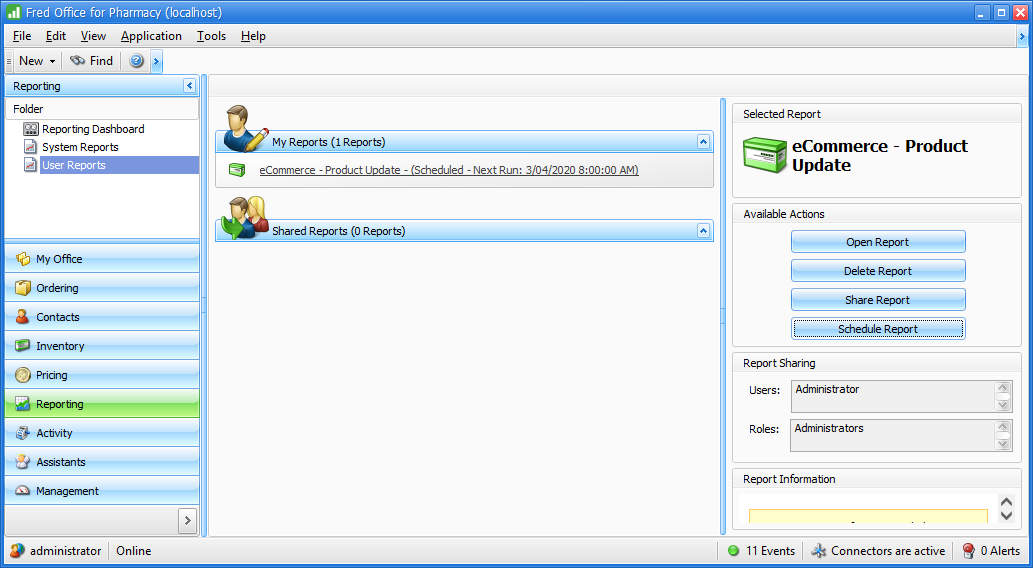
Scheduled Reports for ongoing update
Fred Office Plus allows users to save reports for specific users. These user reports can be configured for automatic emailing.
Once a user report is saved, they can be configured to send at a nominated day and time. These can be set to repeat as required and can be sent to any number of users or e-mail addresses.
It is suggested to send the Item Pricing Details (found under inventory reports in Fred Office Plus) to an eCommerce Vendor.
-
Use column chooser to customise the report as required.
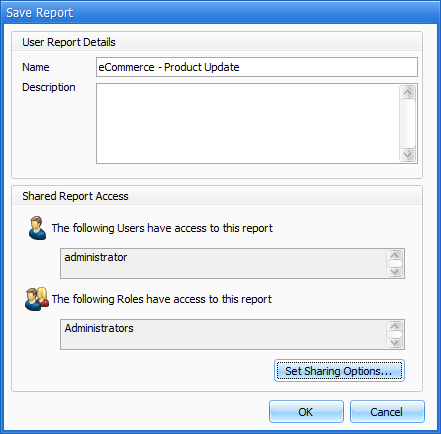
- Once the report is setup in the desired format, click Save Report As.
- Name the report and set the Shared Access options as required.
- Press OK.
- Close the report.
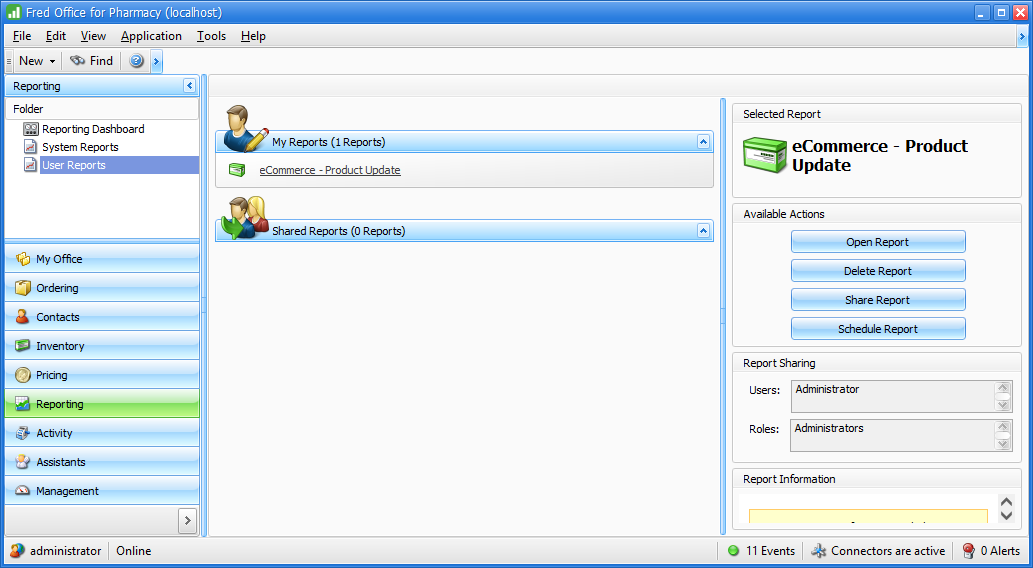
- Navigate to User Reports, highlight the saved report from the above steps and click Schedule Report.
- Select the Schedule options.
You have the option to set the Scheduled Time, Recurrence Pattern and the range of recurrence.
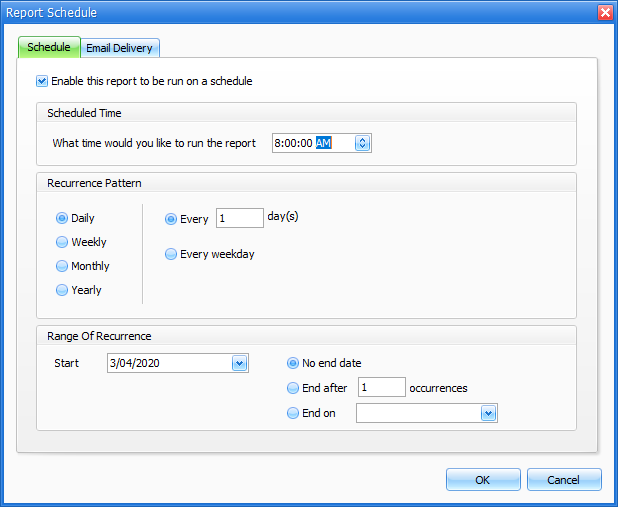
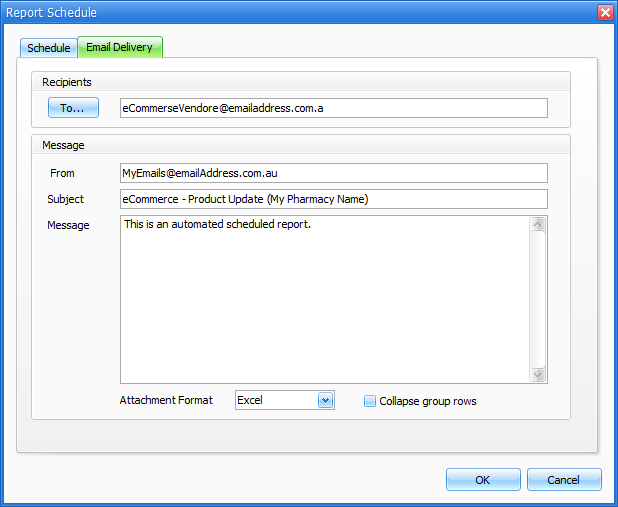
- Once the schedule has been set, you can configure Email Delivery options.
- Enter the Recipient, Subject, Attachment Format and any message you wish sent with the email.
- Press OK to save these settings.
Once the user report has a schedule set, this will display on the main user reports screen and can be edited as required via the schedule report button.