Add a new Fred Office Plus User and Cashier (Fred POS Plus)
POS Plus
New cashiers are set up in Fred Office Plus
- Log into Fred Office Plus.
- Select Contacts > Users and click New.
-
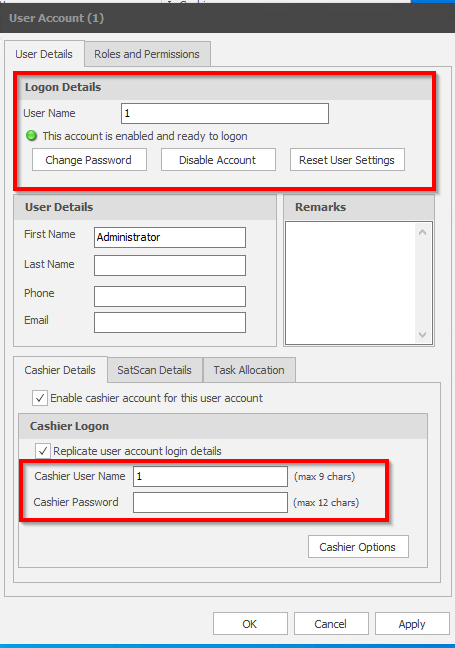
Enter the Logon Details.
This refers to the logon details to Fred Office Plus, however as you fill this area the Cashier Details replicates this information.
-
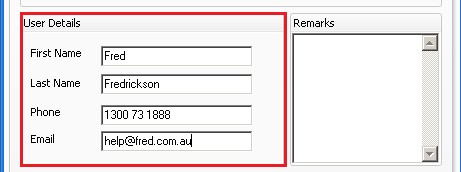
Enter the User Details.
-
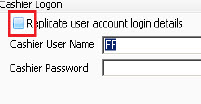
Under Cashier Logon, clear the Replicate user account login details checkbox.
- Enter the Cashier User Name and Cashier Password (which can be blank) to be used at the POS till.
- Click Roles and Permissions tab.
-
Select the Cashier checkbox.
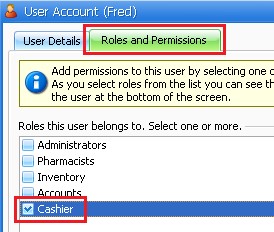
- Click OK.
The cashier logon prompt is recommended for security reasons and is enabled by default. This document describes how to temporarily disable the cashier logon prompt so that it doesn’t display after each transaction at the POS. How to re-enable the logon prompt is also included.
Disabling the cashier logon prompt will mean users will not be prompted to enter their individual logon details for each transaction. This may result in transactions being processed with incorrect cashier details recorded which can lead to difficulties when investigating discrepancies or other issues.
Disable the cashier logon prompt
-
Logon to Fred POS Plus Manager.
-
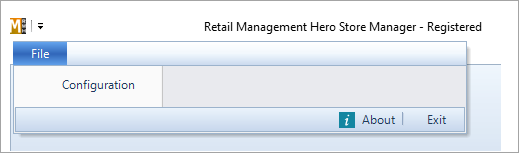
Click File, then Configuration.
-
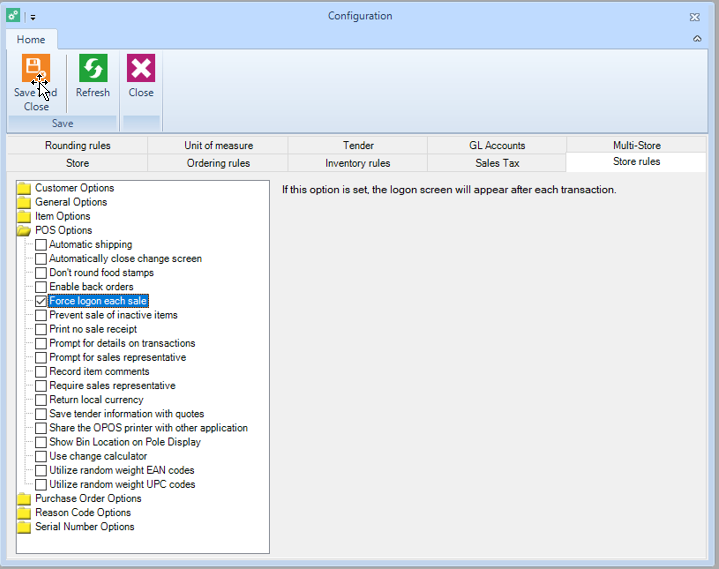
Click the Store rules tab.
-
Click to expand POS options.
-
Clear the Force logon each sale checkbox and then click Save And Close.
Re-enable the cashier logon prompt
-
Logon to Fred POS Plus Manager.
-
Click File, then Configuration.
-
Click the Store rules tab.
-
Click to expand POS options.
-
Select the Force logon each sale checkbox and then click Save And Close.