Identify and Resolve Uncounted Stock Items
Regardless of your stocktake procedure it's a good idea to take a note of the date and the time you commenced, so that you can report on items that were not counted during your stocktake period.
Items may not have been counted for various reasons, but common examples are:
-
System has incorrect stock on hand information
-
Items were not in the correct location
-
Items have been taken off the shelf (theft, expired, return for credit) and not taken out of system
-
Items are new and were not in your store at the time of stocktake
-
Go to Reporting, then select Inventory Reports.
-
Do one of the following:
-
Double click Stock Valuation.
-
Click Stock Valuation, then click Open Report.
-
-
Update the Last Counted field to reflect the date and time when the stocktake commenced.
For example, if the stocktake was started at 8:30am on 15/06, then the filter should be entered as:
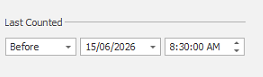
Make sure the Last Counted time is as accurate as possible to achieve the best results from the report.
-
Clear the Only show items with stock checkbox.
- Click Run Report.
-
Use Column Chooser to add the following columns:
- Last Received
- Last Sold Date
- Last Stocktake
Click Column Chooser in the Report Toolbar. Alternatively, right-click the column headings, then select column chooser and add and remove columns by dragging to your preferred location.
-
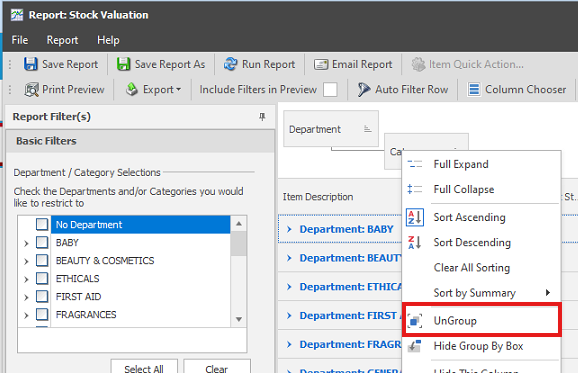
Remove the Department and Category Grouping. Either right-click each column and select UnGroup or drag to the preferred location.
-
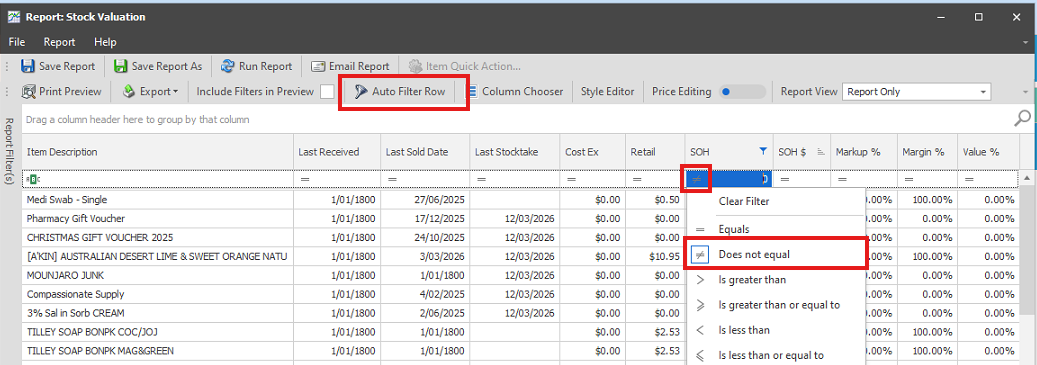
Click Auto Filter Row in the Report toolbar.
-
At the top of the SOH column, click = and select Does not equal, then type 0.
This step ensures items with negative stock on hand that are uncounted are included in this report.
The items from the report above are the items that you need to double check in your pharmacy.
Add these items to a Group. That way you will be able to generate a Stocktake sheet to print out to cross check against.
-
Press Ctrl + A to highlight all lines.
-
Right click and select Add to group.
-
Give the Group an easily identified name, then click OK.
-
Click Save and Close.
-
Go to Assistants, then select Stocktake.
-
Click New.
-
In the Name field, enter name and date for the stocktake and click OK.
-
Add the items from your Group to the stocktake:
- Click Add Items.
-
Click the Search dropdown and select Search By Group.
-
Click your Group from the dropdown and click Search.
-
Click to add all items to Selected and click OK.
-
Review and Count these items. If required, print the Stocktake for manual review.
-
Update the Counted column where required.
Leave counted quantity as zero for items you do not have, do not remove these items from the stocktake.
-
Click Protect, then Calculate and then Commit.
All items will now have correct stock on hand and record the last stocktake as that date and time.