Payment Importer
The payment importer allows Fred Office Plus to import various banking files to reconcile online payments to debtors in Fred Office Plus.
It supports specific bank formats, as well as a generic ‘csv’ format to allow you to download a format from any bank and map it accordingly.
Configure Payment Importer
The payment importer is part of Payment Options of Fred Office Plus. Before you can use it, you will need to configure the Payment Importer.
You will also need to know the following, which you can obtain from your bank or financial institution:
- CRN field length—this is the number of digits in the Customer Reference Number
- Import Format—this is either:
- NAB—which is a fixed format file that you can download from NAB. This is referred to as a BRF file (BPAY Reconciliation File) by NAB.
- CSV (Comma Separated File)—which can use multiple different formats. You will need to set up column mapping, so the importer knows where to get the information from within the CSV file.
Follow the steps below to configure Payment Importer for the type of file you need to import.
- Select Tools > Account > Options.
- Select the Payment Options tab.
- Select the CRN Enabled checkbox and enter the CRN field length.
- Select the Payment Importer checkbox.
-
Select NAB as the Import Format.
-
If the first row of the file contains column headers (field names) rather than data, then select the First row in the file is the column header checkbox.
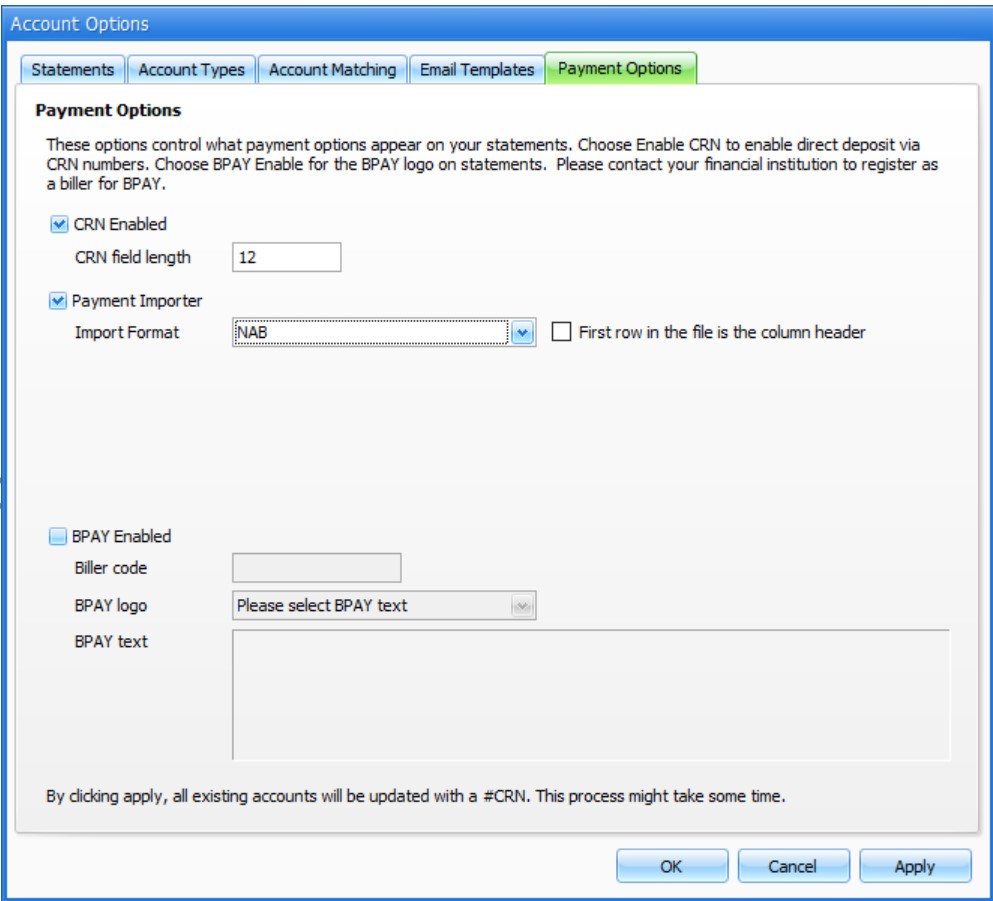
You don't need to do anything further to set up the NAB BRF file.
- Click OK.
- Select Tools > Account > Options.
- Select the Payment Options tab.
- Select the CRN Enabled check box and enter the CRN field length.
- Select the Payment Importer checkbox.
-
Select CSV as the Import Format.
Depending on your CSV file, you would either select or clear the First row in the file is the column header. For example, if the first row contains data, like the other rows, then you would need to clear this checkbox, otherwise, you would lose the first row of data.
- Enter the relevant numbers to map the columns in the CSV file so that the correct informations is located. You will need to map the following:
CRN Column: This column represents the CSV column that contains the CRN.
This will search anywhere in the column (an in-string search), so if the CRN is used as a ‘reference’ amongst other information, Fred Office Plus will still locate it.
- Date Column: The Column which contains the payment date. Fred Office Plus will use this as the payment date in Fred Office Plus.
- Amount Column: The column in the CSV that contains the amount to pay against the account.
- Reference Column: This is an optional column that will include any banking reference code in the ‘reference’ field of the payment. This will appear on the statement and may assist in tracking down a payment with the bank and /or customer.
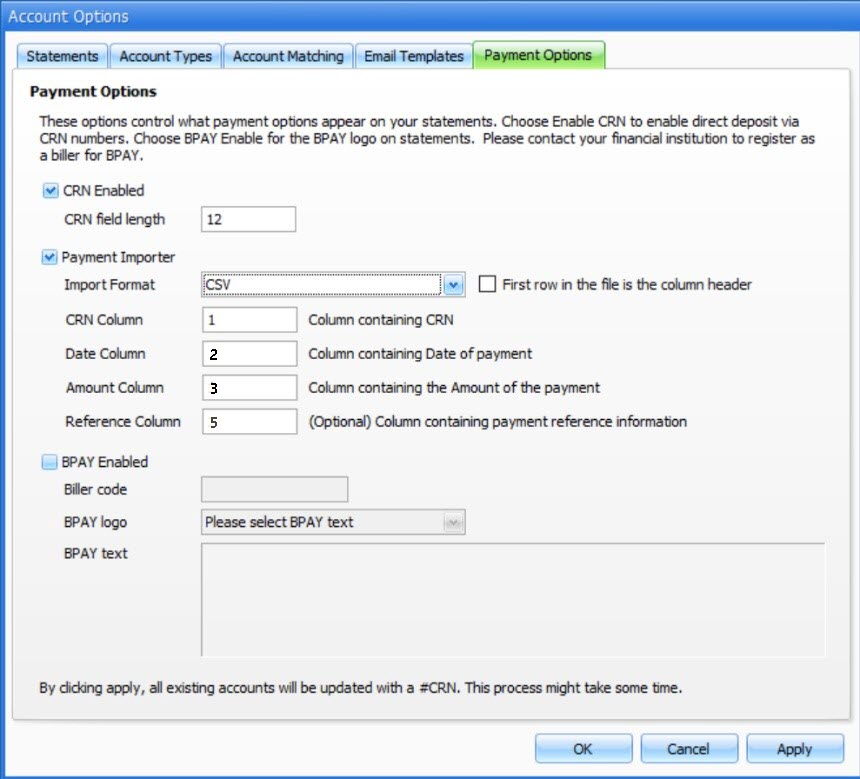
- Click OK.
Import Payments
The payment import is found under Accounts and is visible on the toolbar when the appropriate settings have been configured.

The payment import will only store the last import. Each time it is used, it will replace the last import with the new data.
When the payment import is loaded, it may be showing information from the last import (whether completed or not).
The payment import requires that the appropriate file has been downloaded and stored so that the local PC can browse and find it (i.e. locally or on a network drive)
Import a file
- Click Contacts, then Accounts.
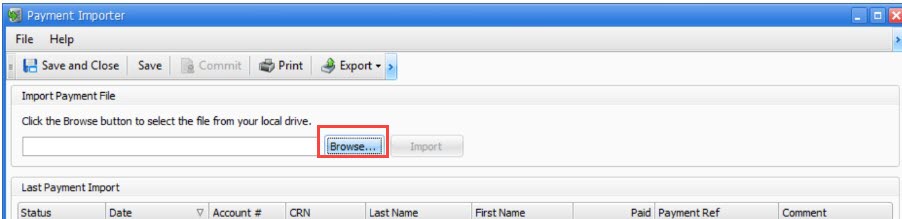
- Click Payment Import.
-
Click Browse, then locate the file to import and OK.
-
Click Yes to import and overwrite results.
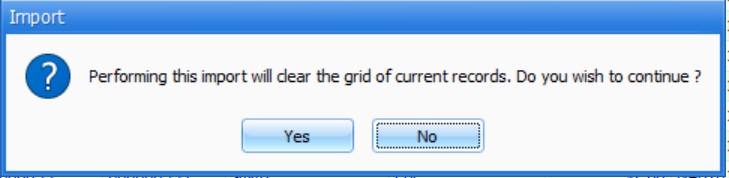
This step can be performed multiple times and will not impact the accounts.
The results are displayed on the grid, with errors listed in Red and at the top. See Payment Import Errors for more details.
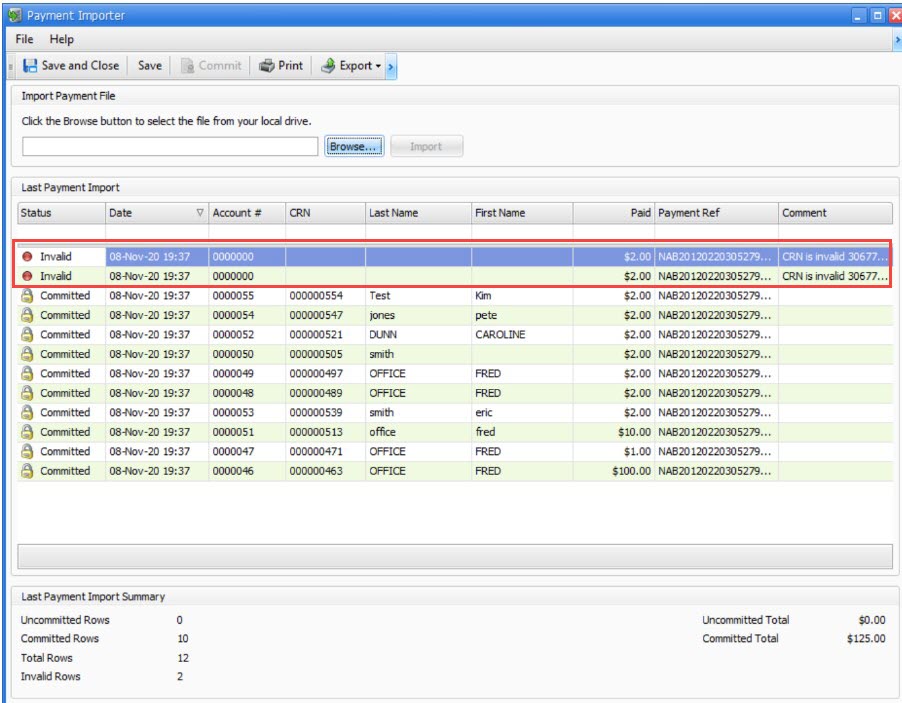
- Confirm the results and commit the payments. Once the import to the grid is complete, confirm that there are Valid lines in the grid.
-
Select Commit to perform payments to the matching accounts.
All successful lines will have their status set to Committed to indicate that the payments have been made.
Totals at the bottom will display remaining information relating to “remaining rows” etc.
-
Press OK to complete the payment import process.

The Payment reference from the payment file is saved to the Transaction Comments.

Payment Import Errors
Types of errors can be:
-
CRN not found (a CRN in the file could not be found in the debtors)
This may be caused by:
- a different reference being used that is (legitimately) not a debtor payment.
- the user entering the wrong CRN when making the payment to the bank.
This error can be followed up outside of this import process and will need to be manually tracked to determine the resolution
-
Invalid Format
This will occur if the format of the file is not correct.
All lines will be ‘incorrect’ and the mapping format should be reviewed to determine whether the mapping above (or file format) is the correct one for the import.